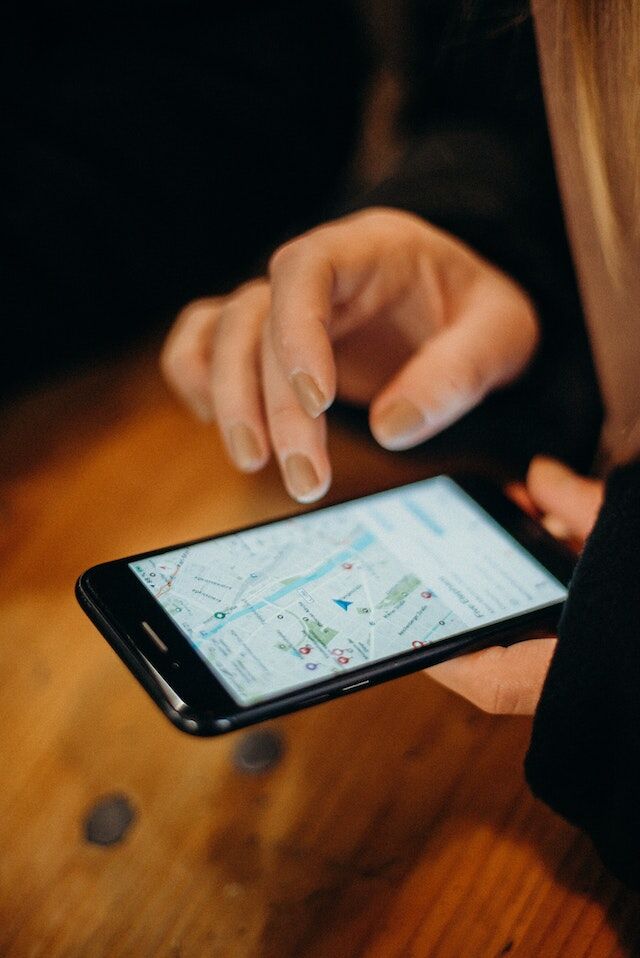
Map pins are useful for marking points of interest in interactive online maps. They provide visual clarity, making obtaining essential information at a glance easier. These markers can act as waypoints, which are GPS systems for navigation. Google, which has a design patent on the pin icon, introduced this feature in 2005.
Nowadays, every digital map comes with this feature by default. On top of that, you can add multiple pins on a single map easily. Today, let’s take a deep dive into the world of map markers to understand why this feature is popular.

What Are the Advantages of Travel Map With Pins?
Why do travel maps come with pins? For starters, map markers act as visual cues, letting users know they can interact with them. They can also do the following:
- They provide valuable information. For example, on Google Maps, you can know:
- The approximate time it takes to reach the pin from your location
- Timings of a store or any other place you can visit
- Get directions to the location
- Save it to your travel list
- Share it with another person
- Images of the location
- You can use multiple pins as waypoints when creating a travel route.
- It is customizable, i.e., you can swap out the pin for your chosen icon. You can also change the color of the markers.
How To Create a Map With Multiple Pins?
There are several use cases for creating a multiple-pin map. For example, you run a bike rental service. You want to provide riders with a map marking all the spots they should visit, including lesser-known places. Or, you have a real estate agency and want to create a custom map marking all the properties on sale.
If you want to create a map and include multiple pins, follow the instructions from the guides below.
How To Make a Google Map With Pins?
Google Maps is a popular choice for individuals and brands as people are already familiar with its interface. It also provides real-time information, which is helpful when working with time constraints. Below is a guide explaining how you can make an interactive map with multiple pins on Google Maps:
- Open Google Maps on a desktop browser.
- On the left corner, towards the top of the screen, there’s a hamburger button. It has three horizontal lines. Click this button and select Saved.
- In the Saved menu, select the Maps tab. Click on Create Map, which is at the bottom of the screen.
- It will open Google My Maps, where you can create custom maps.
- On top of the screen, there’s the search bar. Enter the location where you want to place the marker.
- From the location’s information card, select Add To Map. It will add the location to a new layer.
- Repeat steps 5 – 6 until you add all the places of interest.
- If you want to include a route between these places, select the Add Directions button. It’s below the search bar. This creates another layer.
- You can include all the locations with the markers.
- Rename the map from Untitled Map to a name of your choice. You can also do the same for the different layers.
Go back to Google Maps and follow steps 1 – 3. Under the Maps tab, you’ll see your custom map. Click it to view all the markers. You can enable or hide the layers by clicking the checkbox next to them.
Use a Custom Map Creator With Pins
Using a custom map creator is the second method to have multiple pins. But this brings you to the question – why should you use a custom map pin when there is Google Maps? Below are three downsides of using Google Maps:
- Google Maps has several limitations, which can prevent you from creating large-scale or multi-purpose maps. For example, you can’t have more than ten layers in a single map. Also, each layer cannot have over 2,000 markers.
- When using Google Maps for navigation, you can only include nine stops. This won’t cut it if you need to plan a route with over ten stops. For example, you have a delivery business. Your employees must go to the warehouse to pick up the supplies before visiting your clients. Google Maps can bottleneck your delivery pipelines, affecting the relationship with your clients.
- The API quickly becomes expensive when you want to increase the number of requests. This is also true if you want to use all the features of Google Maps.
Mapize also uses Google Maps as its base. However, it comes with additional features to overcome Google Maps shortcomings. For instance, you can add up to 35,000 markers in a single map. Combine this with a heat map to see how to use your resources efficiently. Mapize empowers you to create a custom Google map that meets your specific requirements.
Wrapping Up Map Pins
Map pins are invaluable when you want to create interactive custom maps. They offer various customization options, contextual information, and the ability to visualize data geospatially. If you’re looking for a custom map creator as reliable as Google Maps, Mapize is for you. It comes with tons of customization features, ensuring the custom map complements your brand’s design. You can also filter out unnecessary data to focus on what’s important. Try Mapize for free and convert your data into a custom interactive map without any programming knowledge!