Many times when a natural disaster strikes, being well-prepared is not enough — particularly on the community level. Natural disasters are inherently unpredictable and their devastating impact on a community is often only matched by coming together of the same community and even the whole nation to provide aid to those affected.
Organizing relief efforts amidst disorder and destruction is extremely challenging. A well-coordinated relief effort involves the efficient setting up of shelters and collection and distribution of food, drinks, and other essentials. The logistics of such a task hinges on location data, i.e., what is needed where and what is available where. Having a disaster relief resource map can be invaluable to ensuring that relief efforts go smoothly and benefit everyone in need.
Whether or not your community is prone to natural disasters, you can go ahead and create a disaster relief resource map for future use. After all, it’s better to have it and not need it, than to need it and not have it. Keep reading to learn more.
Make A List Of Resources
Your first step in creating a disaster relief resource map is to create a spreadsheet with a list of resources that will be most helpful when disaster strikes. Using a spreadsheet is the best way to organize your data, keep it updated, and to share the file with others to allow them to contribute to the list.
Your list should include the following information:
- A name that easily identifies the resource
- The address, general location (i.e., intersection, proximity to landmarks, etc.), or other geographical identification
- What the resource offers
These three, basic components of your list will also serve as your main column headers. Your spreadsheet will look like this:
Once you have sufficient resources on your list, you can easily convert it into a map by copying all the data (including the headers) and pasting it or dragging and dropping the file into Mapize’s map-making tool.
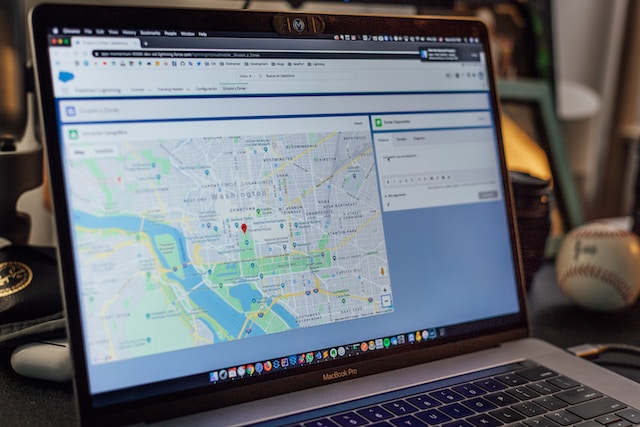
You will generate a map that looks like this:
Don’t worry about adding more resources to your list and your map. Just update the original spreadsheet, then open your map’s URL and click on the “Edit Map” option (on the upper right corner of your live map). Scroll down to the bottom of the map editing page. You’ll find the same two boxes where you can copy and paste/drag and drop your updated spreadsheet data/file. Once done, just click “Update Map.”
Add A Category Filter To Your Map
As your list grows, different categories for your resources will emerge. You can add another column to categorize your data, make sure the list won’t be confusing, and make it easier for others to find what they need. Adding a category filter to your map is useful when you have dozens of resources listed.
Your updated spreadsheet will look like this:
Again, upload your updated spreadsheet to update your map. Your new map with the category column will look like this:
The different categories will have different colors. You can choose to only see certain categories or groups and hide the others. Other people who will be accessing your map will be able to find the specific resource they need more quickly by allowing them to filter the map data.
Share Your Disaster Relief Resource Map
The main purpose of your disaster relief resource map is to give your community an invaluable resource (yes, your map is a resource for resources!) when people need it the most. So your final step is to share your map with the community.
Mapize’s maps can be shared in a number of ways. You can post your map’s URL on social media or share it in chat groups. Just make sure access to your map has been set to public. The beauty of interactive maps created via Mapize is that they are optimized for both the smaller screens of mobile gadgets and the bigger screens of computers.
You can also seamlessly embed your live map into your website/s. Just use your map’s embed code, which you’ll find on the map editing page.
