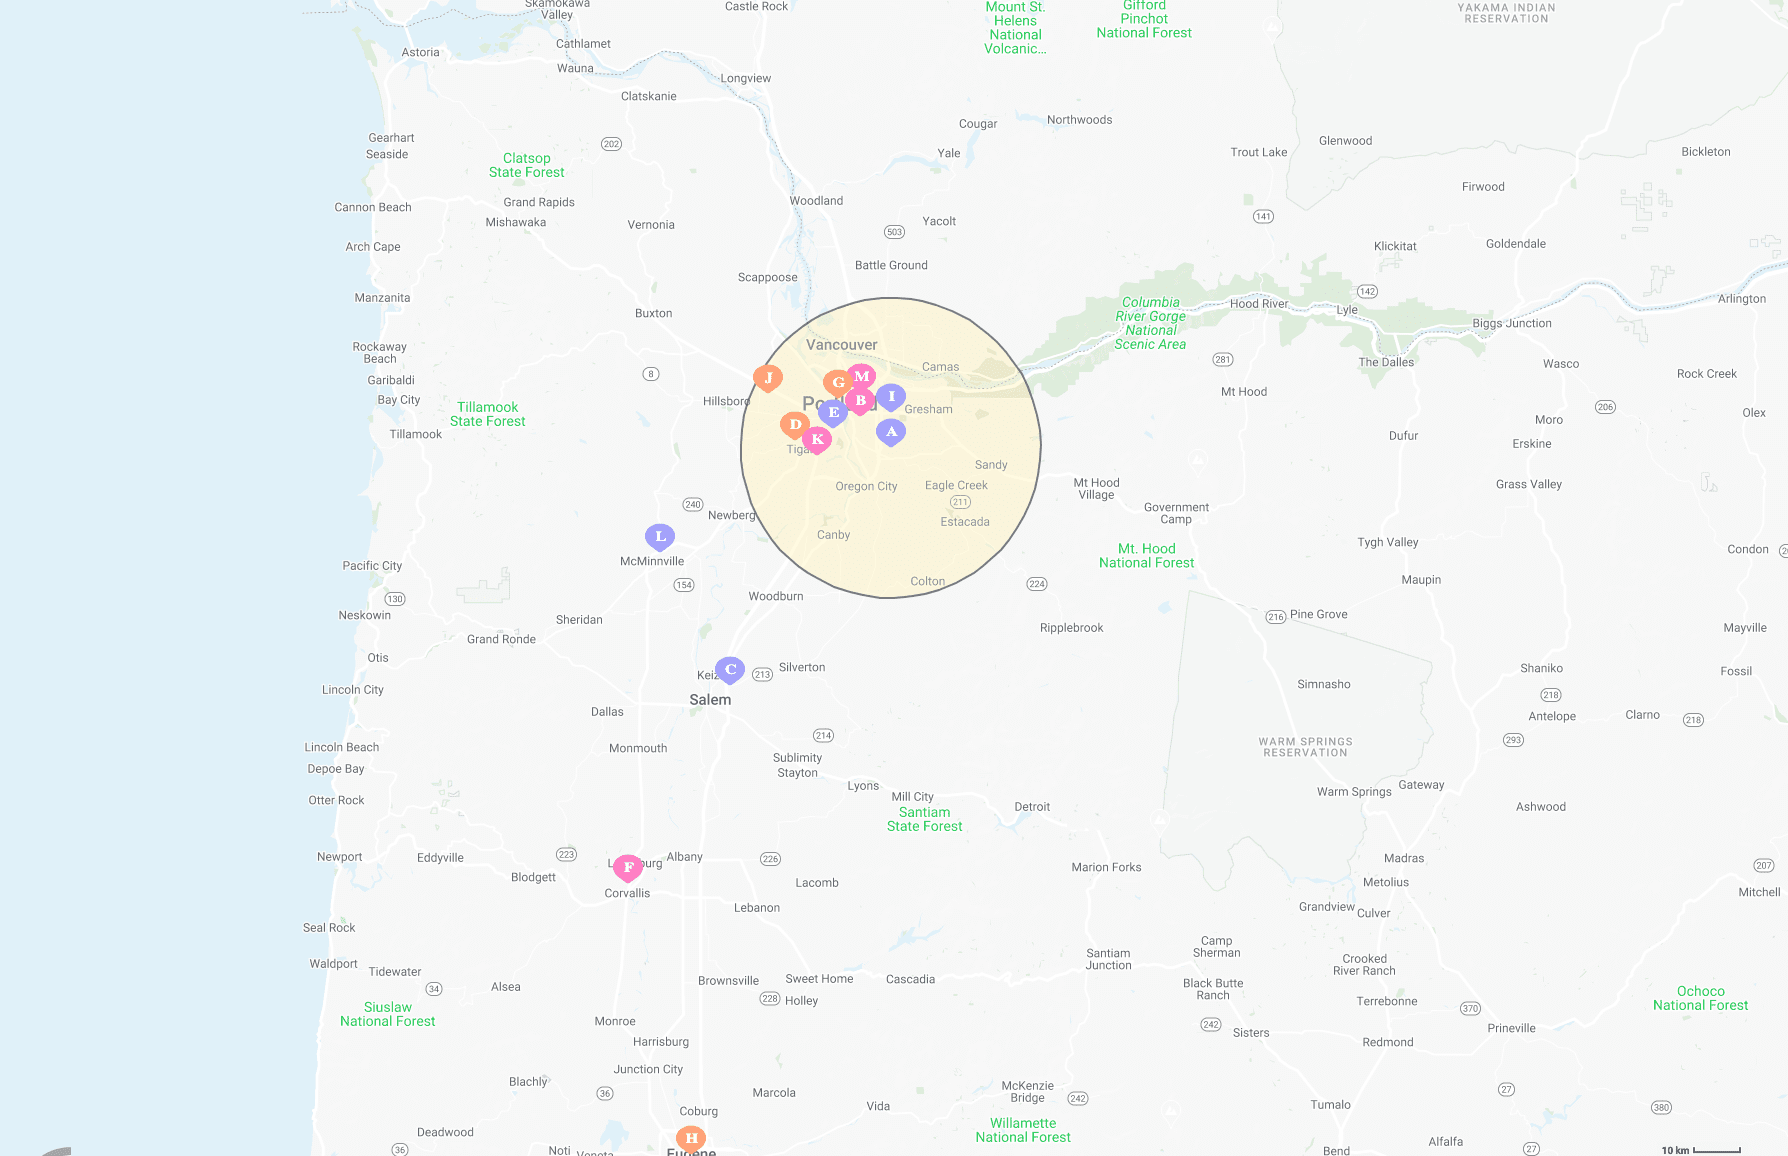
Take advantage of Mapize’s many custom features with our radius mapping tool to find proximity between points on your map. Once you create an interactive map with Mapize, level up the look by following the how-to steps below.

Why Should I Add a Radius to My Map?
Why create a map with a radius map tool? Get a clearly defined visual of where specific areas or places are located relative to each other on your map. See the distance between two or more points within a given radius for a clear look at how far it is between them.
Mapize’s radius map tool allows you to run a quick proximity check based on given location data and provides you with point-to-point distance values (in miles or kilometers).
Mapize’s Radius Map Tool Features
- Pick and customize radius coverage (Note that the starting location point of the radius is wherever you right-click on your Mapize map)
- Set the proximity distance
- Increase or reduce the radius coverage as needed
- Create multiple radius circles from different starting points
- Highlight your radius circle(s) with the color(s) of your choice for easier viewing
How to Create a Map with a Radius Tool
Create Your Map Using Mapize
Just as you would typically map multiple locations using Mapize, first create a spreadsheet with your data set. After you have a list of addresses or coordinates for your map, use the interactive map tool to import the spreadsheet or copy and paste the data columns into the build map window. After you click on the “Create Map” button, customize the look of your map. Now you are ready to use the radius mapping tool.
Creating A Radius
As a Mapize map creator and map owner, you can always add a radius on your map. Before saving your map, all you need to do is to right-click where you would like to add a proximity radius to your map and click on “Add Radius.”
After which, you will be prompted to a pop-up window where you can customize how the radius map will look. Here you can adjust the location of the proximity radius circle and how far you would like the circle to spread out from this point. Change the border color or the transparent color within the radius circle. Finally, click on “Set Radius.”
Edit the Radius Around a Point with the Map Tool
You can always add more circles with the radius map tool. Perform another right-click anywhere on the radius circle map. Mapize will also allow you to delete or edit the radius that you added around a point. A delete and edit icon can be found below the page in line with the starting location point of the radius.
Share Your Mapize Map
After saving your online radius map, you can easily share the map with everyone and conveniently embed maps on websites.
Once the map is embedded on your website, any customers visiting the site can use the map tools’ radius feature by also doing a right-click anywhere on the map.
With Mapize, you can quickly categorize and identify map elements within multiple radius circles. It’s also easier because you can export the radius location data into different Excel file formats like CSV or XLS files with a single click.
Give it a try after creating your free proximity map today!